In this guide, I will take you through everything you need to know about making your own dartboard at home. I will be going through the materials you need, how to make a dartboard diagram, tips, and advice on painting a dartboard as well as some safety points. In this guide, I will also give an insight into what type of board you can use for darts.
Of course, you could just buy a cheap dartboard.
Table of Contents
What You Will Need
- A piece of wood (or cork preferably) at least 18 inches wide (if you want you board to be regulation size)
- A few tacks or screws to hang your dartboard on the wall with.
- A sharp knife (To mark out where you will cut the sheet of wood to make it into a dart board.)
- A drill with a 3/8th inch drill bit
- An adhesive such as gorilla glue (can be bought in most DIY stores)
- A sheet of sand paper (you can get these at any hardware store like B&Q, Home Depot or Screwfix)
- A dartboard diagram or stencil (download ours here)
- Painting materials (If you want to paint your board)
Step 1 – Cut your wood or cork
First, you’ll need to cut your wood or cork.
If you go with wood I recommend using a piece of fairly thin ply (more on that later).
I would advise cutting it into a rectangle, however, you can use any shape as long as it is 18 inches wide. This size will be regulation standard if you wish to try to emulate the traditional size of a board.
Step 2 – Mark out your dartboard
Step 2 is to mark out your dartboard.
Grab your stencil (If you used one) or the dartboard diagram and lay it onto the board. You can of course use any design you like – it doesn’t have to be traditional.
You can use this stencil if you like (right-click on it and select ‘save as’).
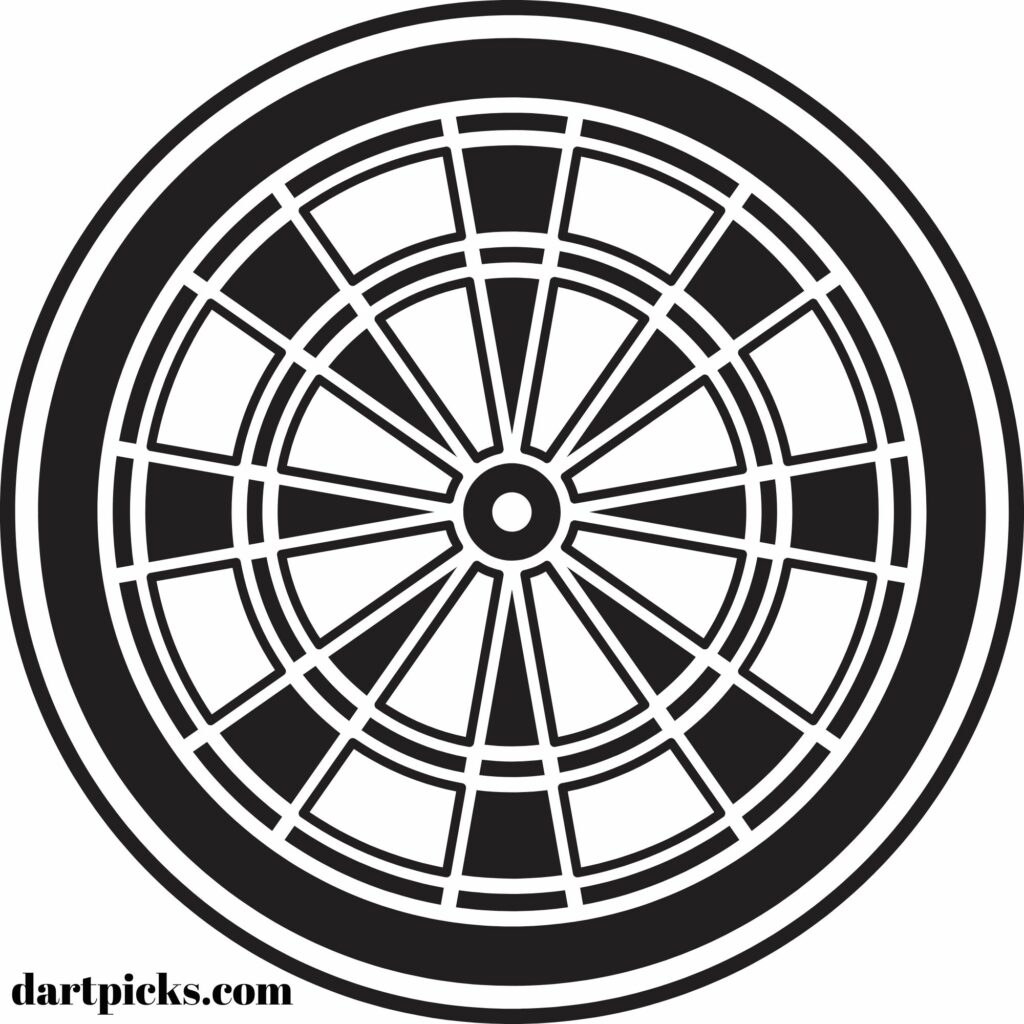
You will need to press down firmly on the corners of the stencil so that it does not move when you are marking out the board.
Step 3 – Get a backboard and mount it to the wall
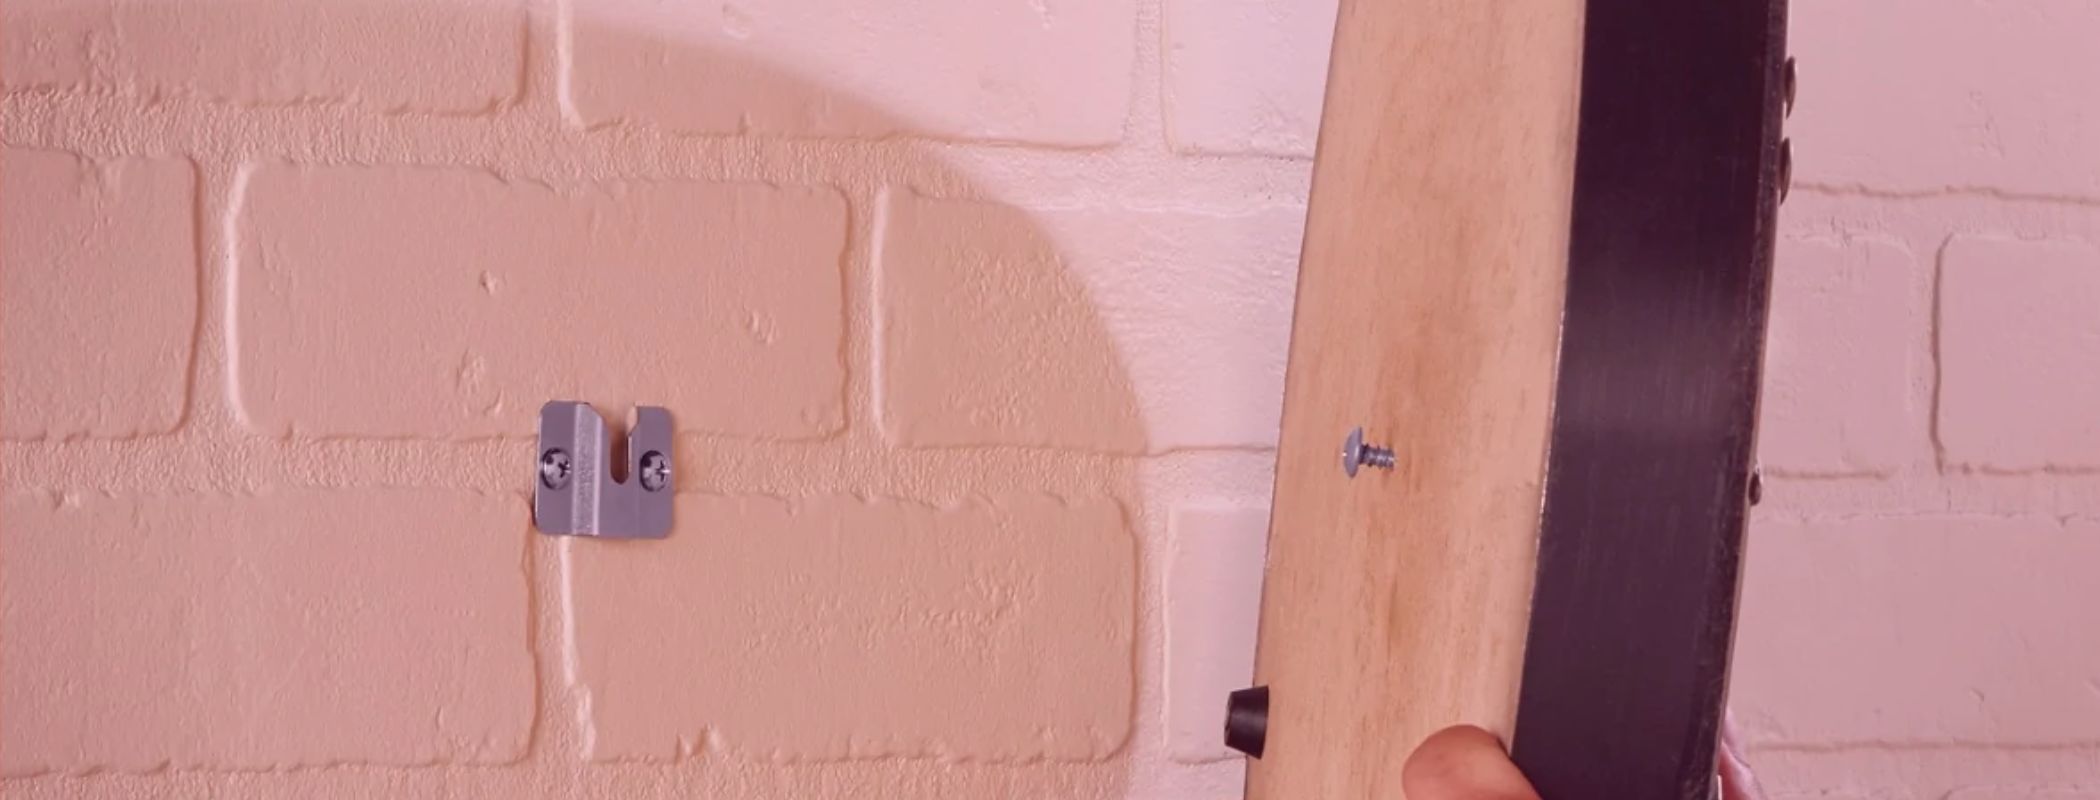
Any substantial piece of wood will work well as a backboard. Simply put them up around your dartboard to make it safe for the walls. You can mount them to your wall using standard screws and fixings.
Step 4 – Mount your dartboard to the backboard
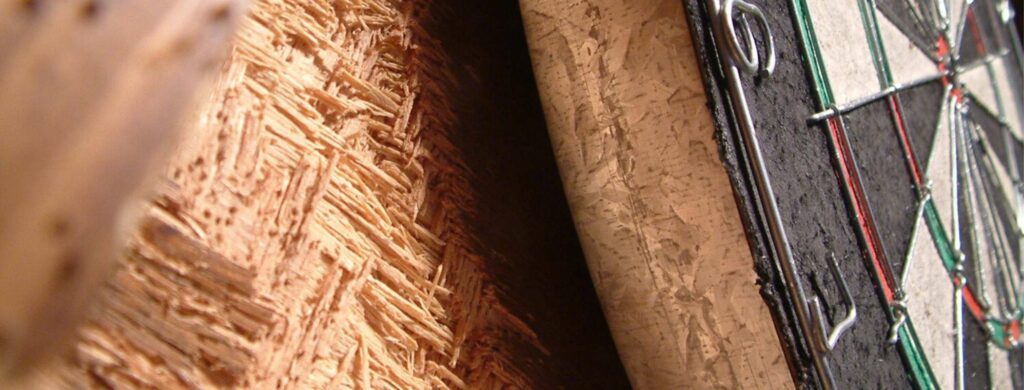
You’ll need to use an adhesive to mount your dartboard to the backboard. I would recommend using gorilla glue which you can pick up in most hardware stores for a few bucks.
Apply a generous amount of the adhesive all over the board and quickly place it onto the backboard, making sure that it is straight.
Alternative your dartboard can be screwed onto the backboard by drilling 3-4 holes around the edge.
Step 5 – Get some darts and a dartboard mat
You’re going to need some darts! There are loads to choose from on Amazon. Here are a few that we recommend:


Last update on 2026-01-17 / Affiliate links / Images from Amazon Product Advertising API
We’d also suggest you invest in a darts mat. Darts mats are a great way to protect your floor from stray darts and they also have markings showing players where to stand.
In Summary
Although no substitution for a proper dartboard, this is a fun project for a rainy day. If you have some crafting skills/ knowledge of materials, you could come up with some interesting solutions. You can now make your own dartboard, and play darts anytime you want. Enjoy building the board and playing with friends and family.
Alex Cooper is the editor of this website. He loves darts and helping people. Alex started playing darts at the young age of 10, as his father was also a keen darts player, and has loved it ever since. Alex enjoys writing about darts and helping others learn more about the sport.
The easy way to keep track of your score is with our printable darts scoresheets. Easy to download and keep on your phone or computer or print straight off from our website. Pop your email address into the box and we'll send them straight to you.

