As you are probably aware, darts products can be costly, especially if you’re searching for a higher quality product from a reputable brand.
Dartboard backboards perform several functions – they frame your board and make it look nice, and also preserve your darts from the surrounding wall. They also make it generally safer as stray darts are more likely to stick to a backboard than bounce off your wall.
Below, we’ll provide you with detailed instructions on the best way to make a DIY dartboard backboard. This method is basic and will not involve extensive DIY skills.
Table of Contents
Objectives of DIY Dartboard Backboard
For this job, I had three main goals:
- Keep prices as low as possible
- Make it look somewhat presentable
- Shield the wall/ darts from additional damage
Shopping List
Table could not be displayed.Before You Get Started
- First off, you should not set your expectations too high. This is a fun project that you can do with friends or family and this type of backboard is not designed to last a particularly long time. HOwever, they are so easy and cheap to make that it could be the perfect option for you – especially if the only alternative is a holey wall!
- Try to keep your budget down. Using just a few materials for this project will help keep your spending to a minimum.
- And lastly, here is a list of the things you will want to get in your regional shop to design the backboard. You can locate them in almost any more extensive retail shop, and there is no need to go to the hardware stores since these are everyday products.
Necessary Items Required to Make a Dartboard Backboard
- 1-inch thick insulation (Best Insulation)
- Marker
- Glue (Recommended Aleene’s Felt and Foam Tacky Glue)
- Scissors (Knife)
- Black felt
- Sandpaper
Step By Step Guide How to Create DIY Dartboard Backboard
There are two standard methods of making a backboard – you can use insulation as your outstanding substance or wood if you are feeling up to it. When it comes to woodworking, there are lots of extra tools involved and tricky skills involved so we’re keeping this simple.
Step 1 – Cut out Insulation
The main part of your backboard is insulation. It should have a minimum 1-inch depth as most darts have tips just a little below one inch in length so there’s no chance of them reaching your wall.
It ought to be bigger than the dartboard when it comes to size, but it is your decision and your preferences.
A minimum area of 3 feet squared is recommended for a dartboard backboard as this will give you adequate space on all sides for those stray darts.
Place the dartboard into the top center of the insulation and use the marker to draw a line around it. Then use scissors or a knife to cut a hole in the dartboard.
As soon as you finish, you can sand the inside of the ring with regular sandpaper to smooth out those edges and make as close to a circular shape as possible while making it big enough for your board to fit inside.
Step 2 – Attaching the Felt
Next, we need to cover the insulation. From experience, the best substance to use is black felt. Owing to the protective features, felt is a perfect material as it’s easy to work with, can be glued, and is also perfect for darts to stick into.
Remember your felt will need to be a few inches longer than the size of your insulation as you need the overlapping area to glue to the back of the insulation. To prevent any wrinkles, you need to choose one side from which you first apply the felt and set the glue on one side first.
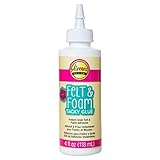
Any glue will do, but we strongly suggest the Aleene’s Felt and Foam Tacky Glue because of the durable adhesive power. It dries relatively quickly and offers a powerful bond between the insulation and the felt cloth.
Place the felt over the side and gradually apply the glue in the identical vertical fashion as you did for the first help. This part requires some time, but you need to be as detailed as possible and not rush it since this is vital.
Additionally, try not to apply glue directly across the borders as the glue can smear them. You will most likely have to cut some extra fabric to the end. As soon as you’re done, let it dry for an hour and proceed.
Using clamps can significantly speed up the process, or you can use heavy items to weigh down the glued sides to help keep them in place until the glue sets.
Step 3 – Trim
Use standard scissors to cut off the excess felt from the corners and the sides, and then use the glue. It is possible to use a dull object or a tool for the edges to ensure that the felt doesn’t wrinkle.
Next, we need to cut out a hole in the felt where the dartboard goes. Cut the circle at a pie-manner by making a small hole in the center of your circle and cutting a straight line to the edge. Leave at least an inch at the end. These pie sections can then simply be pushed through the gap inside and glued. Be sure that you stretch them tight to prevent any inconsistencies on the surface.
Let the glue completely dry overnight.
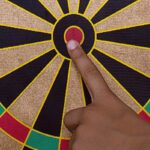
Step 4 – Testing
Test the backboard material by throwing a few darts at it to make sure all is well and that the darts don’t hit the wall.
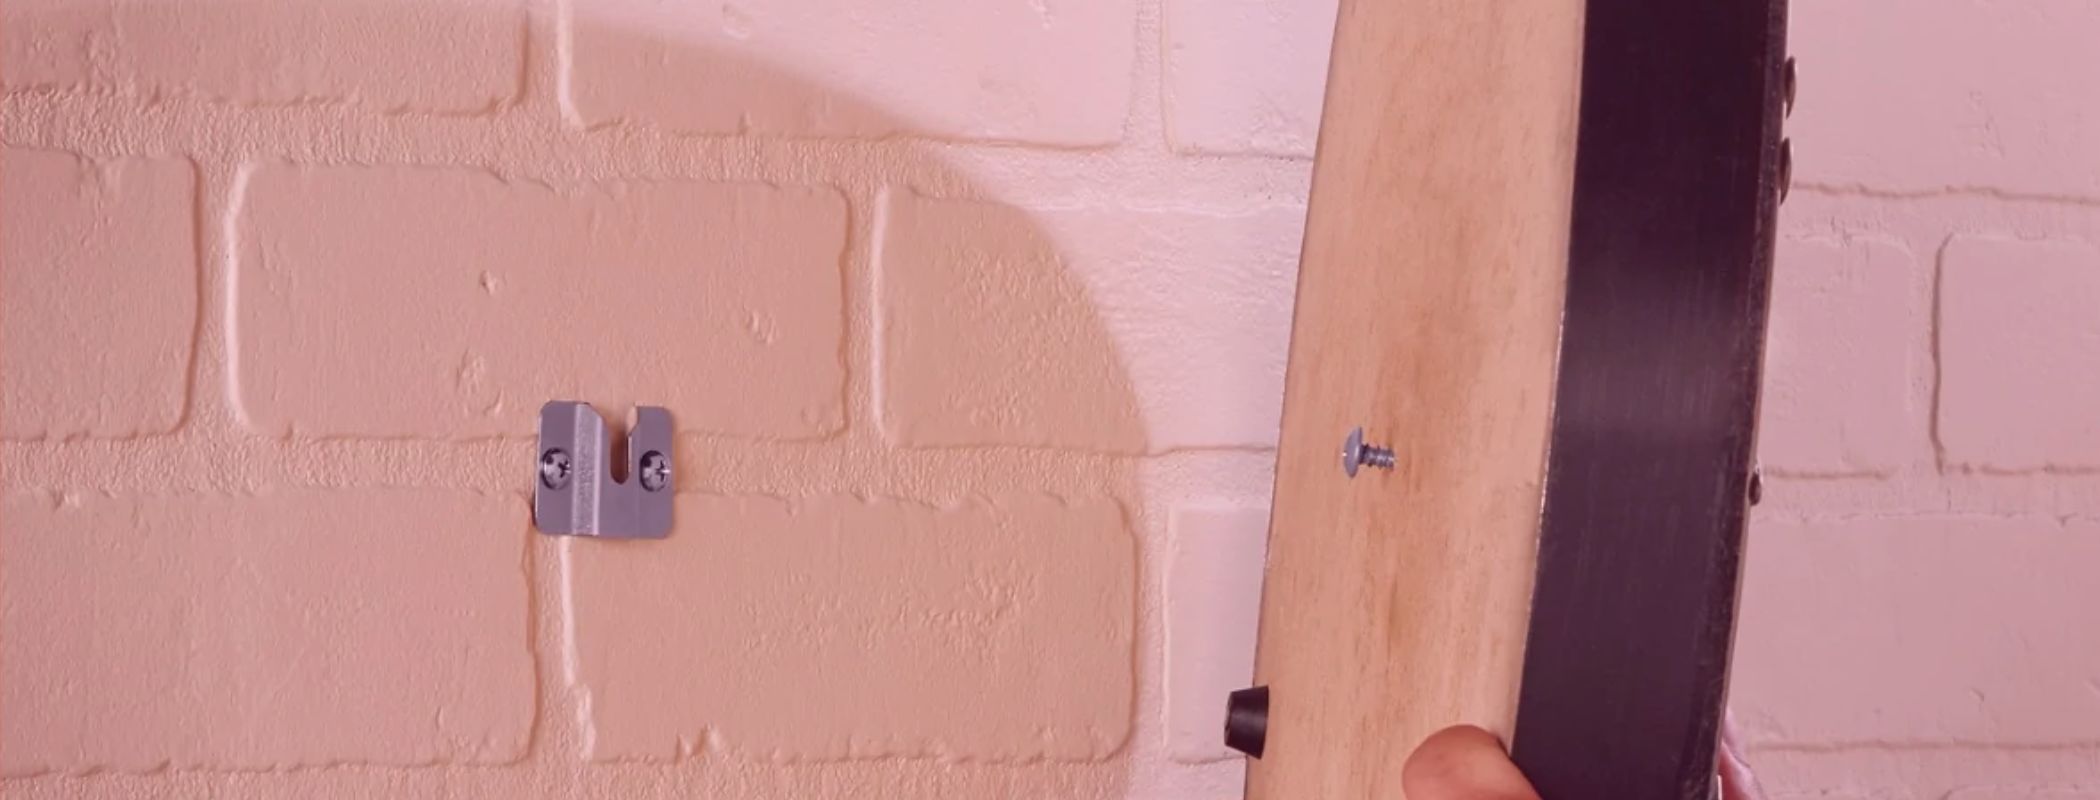
Step 5 – Hanging
Your dartboard should already be hanging on the wall and now you can lift your backboard into place, making sure the dartboard fits snuggly in the middle hole.
Once in place, nail the backboard to the wall. You might find it easier to get a second pair of hands for this – they can make sure it doesn’t move while you’re fixing it in place.
Here is a video where ‘Motofun’ makes a similar backboard using insulation and felt:
Now You Have Your New DIY Dartboard Backboard
In general, this project should not cost you more than 30 bucks, usually depending on the sort of fabric and glue, you buy. Most custom-made backboards will cost considerably more, so you will save money and make something of your own.
Remember, you don’t have to stick with black felt – you can customize it with unique colors, textures, and enhancements. You can always experiment and use unique fabrics. The main reason black felt remains is a good choice is its simplicity and it hides a lot of sins! You shouldn’t be able to see a lot of the marks left in it.
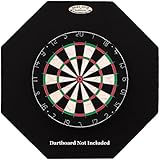
If You’re Having Second Thoughts and Want to Buy a Backboard
Here’s a range of dartboard backboards available to buy if making your own is out of the question.

How to Make a Homemade Dartboard Backboard From Wood
For those interested in making a homemade backboard out of wood, check out this video:
Final Thoughts
We hope you enjoy this little experiment if you choose to have a go. To sum up, it ended up costing a total of $20-$30 at the most and about 2 hours of time. It’s not necessarily built to last, but a fun project nonetheless. It is cheap to do, so even if you make a few errors, it is no big deal. And, you can always make another one!
You might also like this article – How to make your own dartboard.
Alex Cooper is the editor of this website. He loves darts and helping people. Alex started playing darts at the young age of 10, as his father was also a keen darts player, and has loved it ever since. Alex enjoys writing about darts and helping others learn more about the sport.
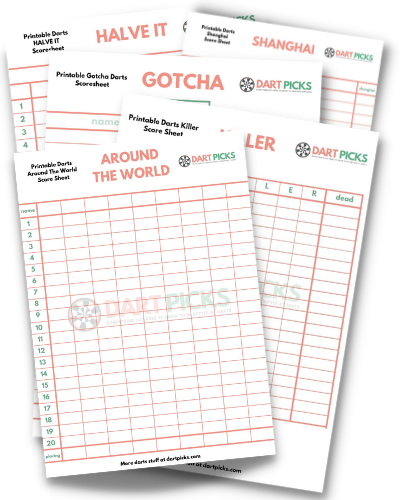
Get Our Free Darts Scoresheets Pack
The easy way to keep track of scores whilst playing
The easy way to keep track of your score is with our printable darts scoresheets. Easy to download and keep on your phone or computer or print straight off from our website. Pop your email address into the box and we'll send them straight to you.